In this activity, students become archaeologists and uncover part of a single-layer (one-period) site. This dig is a full-scale simulated excavation.
1. PREPARATION. Divide your class into team. When students work in a small team, it’s easier to organize (max 5 members). Each group will divide jobs to do excavation up to certain layers in the same box (the excavation site). OR You may also organize different boxes with smaller size (30x30cm) for each group. Prepare the replica of artifacts (statue, pottery, craft, etc) and spread the artifact pieces into those boxes. (Don’t forget to consult with school admin and maintenance dept. to prepare this! J
2. Give the clue about the location of excavation site using hieroglyph text to each group. Ask them to locate the site using that clue (see this link to create hieroglyph text http://www.discoveringegypt.com/hieroglyphic-typewriter.html) e.g. under the tree at soccer filed
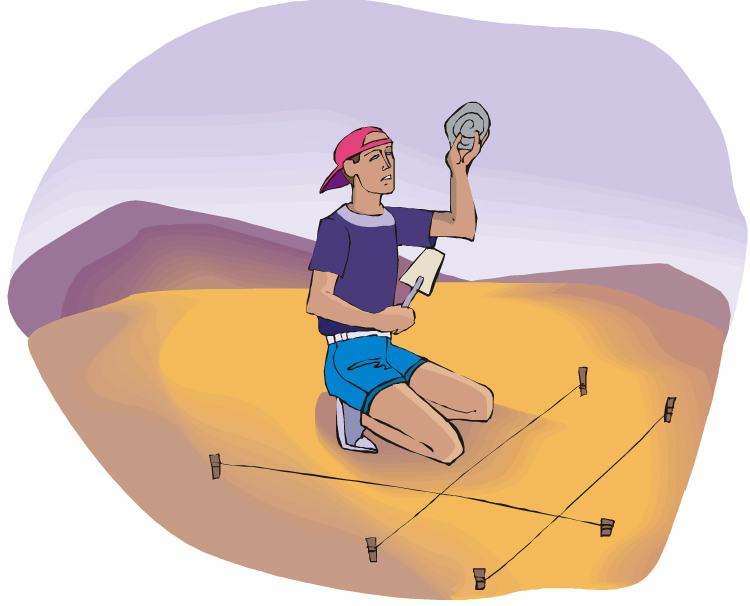
3. Students will start locate the site. Once they find the location and they can start doing the digging. Please make sure they follow the agreed procedure when doing excavation. (Read basic guideline to do excavation below). The equipment needed are: flat trowels, brush, ruler, weight scale.
4. Once they find the pieces they may start to record the data in the worksheet. They will measure diameter, weight, and take the image. Make sure each finding is documented clearly.
5. After that students will bring their findings in the classroom and they can start guessing what the artifacts pieces are. After guessing they can start making a full sketch of the artifact in whole. Each team will need to present to other team. Here, they will know that they are actually completing each other findings.
6. So from the sketch, the whole class can do reconstruction of the artifact and ready to be registered as a cultural heritage artifact.
Watch the video below for the sample. Have fun digging!
1. PREPARATION. Divide your class into team. When students work in a small team, it’s easier to organize (max 5 members). Each group will divide jobs to do excavation up to certain layers in the same box (the excavation site). OR You may also organize different boxes with smaller size (30x30cm) for each group. Prepare the replica of artifacts (statue, pottery, craft, etc) and spread the artifact pieces into those boxes. (Don’t forget to consult with school admin and maintenance dept. to prepare this! J
2. Give the clue about the location of excavation site using hieroglyph text to each group. Ask them to locate the site using that clue (see this link to create hieroglyph text http://www.discoveringegypt.com/hieroglyphic-typewriter.html) e.g. under the tree at soccer filed
3. Students will start locate the site. Once they find the location and they can start doing the digging. Please make sure they follow the agreed procedure when doing excavation. (Read basic guideline to do excavation below). The equipment needed are: flat trowels, brush, ruler, weight scale.
4. Once they find the pieces they may start to record the data in the worksheet. They will measure diameter, weight, and take the image. Make sure each finding is documented clearly.
5. After that students will bring their findings in the classroom and they can start guessing what the artifacts pieces are. After guessing they can start making a full sketch of the artifact in whole. Each team will need to present to other team. Here, they will know that they are actually completing each other findings.
6. So from the sketch, the whole class can do reconstruction of the artifact and ready to be registered as a cultural heritage artifact.
Watch the video below for the sample. Have fun digging!


 RSS Feed
